


These coasters can be a great gift idea, kid craft, or just new decoration for your home. My idea for this craft came from a few pins I saw on Pinterest. It is fairly easy to do and there the decoration ideas are endless, but you do have to have the right materials on hand. Children 8 years old and up should be able to do this craft with some supervision.
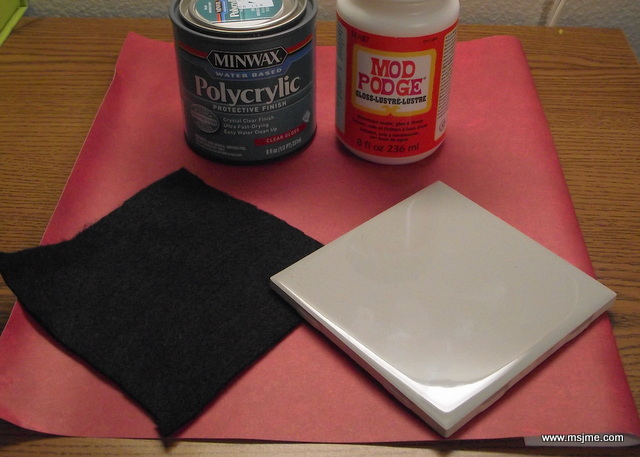
Materials:
- Mod Podge
- Ceramic Tile (can be found at local hardware store for cheap)
- Felt
- Scrapbook Paper
- Permanent Markers (not shown)
- Scissors
- Polyurethane/Polycrylic varnish
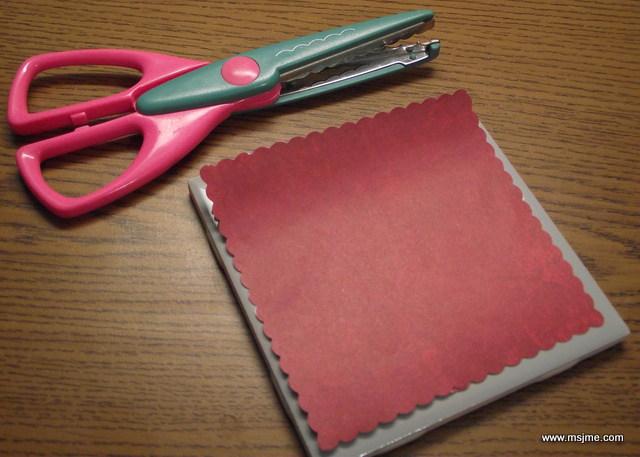
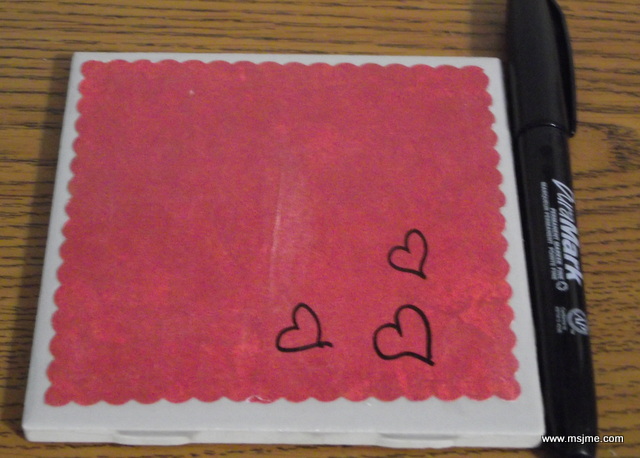
Start with cutting a piece of scrapbook paper to the size of the tile. I used the crazy edge scissors to make it a bit unique. I highly recommend lighter paper and/or ones with patterns. These can hide any “oops” that may happen in the next couple steps.
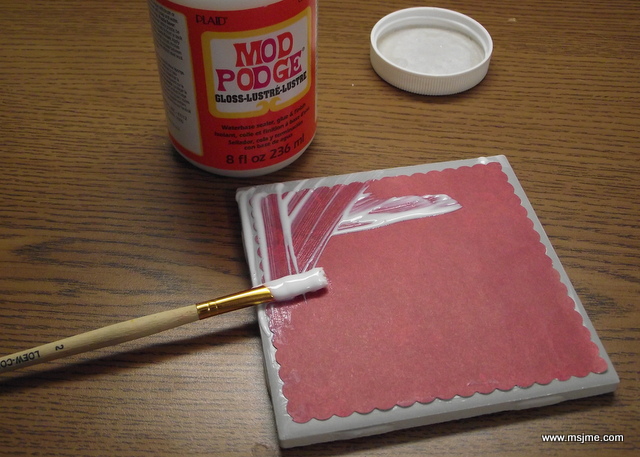
Use Mod Podge to attach the paper to the tile. First place a light layer on the tile to adhere the paper. Then put a light layer on top. The directions on the Mod Podge container says to give 15-20 minutes between each coat. I have found that an hour+ is best between coats. Do 2 coats of Mod Podge.
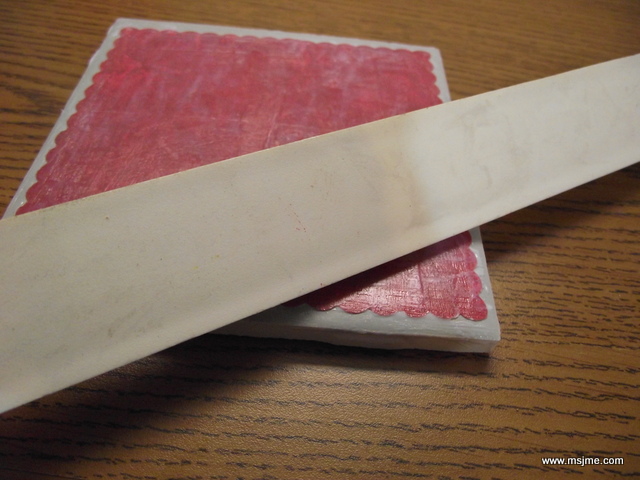
Tip! Find something with a straight edge to lay the paper flat on the tile for the first coat. Lightly drag it across the top. Paper tends to curl when wet, so this helped keep it in place by evening out the coat of Mod Podge.
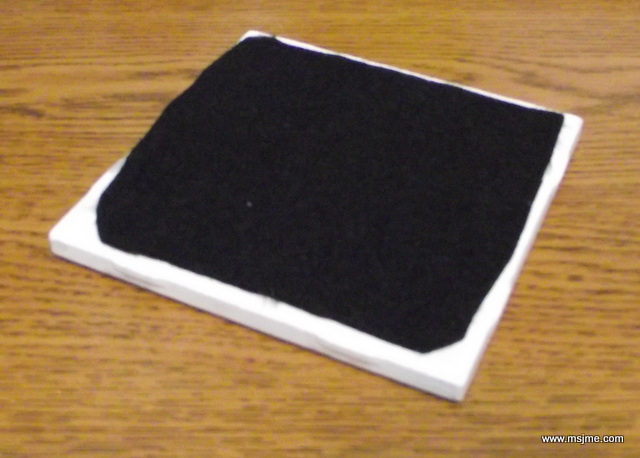
Last and final step. Glue felt onto the bottom of the coaster. I used a glue gun. Children can use Elmers Glue. Now turn it upside down and enjoy! These coasters make great Mother’s Day and Father’s Day presents. .